
How to use an air fryer? How to clean the oil-free fryer? It must be a question that many homemakers are interested in because oil-free fryers are increasingly appearing in family kitchens. To know more about how to use an air fryer for dummies and maintain a healthy fryer and more helpful information about the oil-free fryer, let’s read the article below with Big Sun Cook!

How to Turn on an Oli Less Fryer
If you want to know how to use a healthy fryer, first know how to turn on the oil-less fryer! To turn on the oil-less fryer, you can follow these steps:
Step 1: Ensure the machine is correctly plugged into the power outlet.
Step 2: Press the power button to turn on the product. Some models may require pressing and holding the button for a few seconds.
Note: Find the power button on the machine. Usually, this button is located on the control panel or near the digital display.
Step 3: Once the oil-free fryer has been turned on, you must set the desired temperature and cooking time. Most oil-free fryers have knobs or dials for adjusting these settings.
Step 4: Some oil-less fryers require preheating before you can start cooking. If your machine requires a preheater, preheat oil-free fryer for a few minutes according to the manufacturer’s instructions.
Step 5: Once the product reaches the desired temperature, you can place the food in the cooking basket or tray. Close the lid and set the cooking time using the controls.
Step 6: During the cooking process, you can monitor the progress through the transparent window or by opening the lid of the oil-free fryer. Be careful when opening the top, as hot air or steam may escape.
Step 7: When the food is cooked, and you are done using it, press the power button again to turn off the machine. Unplug the oil-less fryer from the electrical outlet.
How to Use an Air Fryer? Using air fryer for the first time
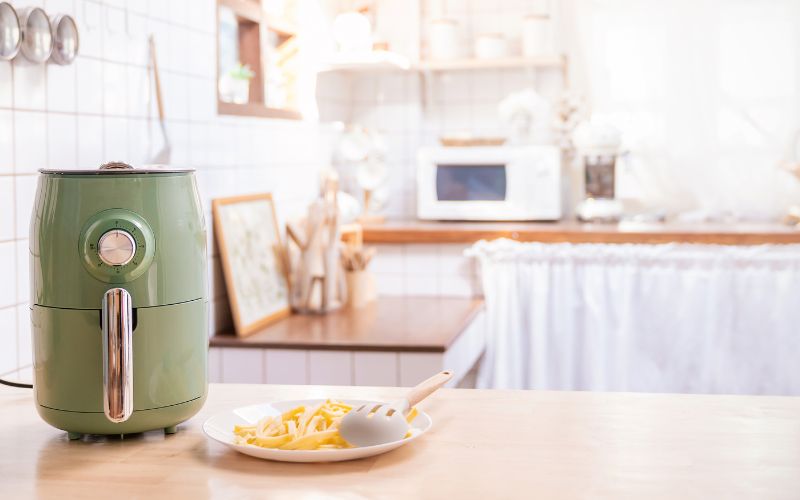
An oil-free fryer is a device that does not use oil to cook food, using only the heat of the air circulating in the pot. In addition, frying food with an oil-free fryer helps to limit grease, make food even more delicious and provide a safe and nutritious meal for the whole family.
How do oil-free fryers work?
The oil-free fryer operates on the principle of vacuum frying with a heating mechanism. The heat source from electricity, combined with the convection cooling fan, circulates quickly throughout the surface of the food to help the food cook in a uniform hot air environment. Featured is the Rapid Air technology that makes the air circulate quickly and powerfully. At the same time, the heating element emits infrared radiation that deeply penetrates beneath the food’s surface, resulting in an exceptionally rapid heat transfer. This process contributes to the food’s crispy texture.
The symbols on the oil-less fryers need to know
On/off button
The power button icon will be visible after plugging in and disappear after unlocking the control panel.
The power button allows you to power on the console. In addition, this button also allows you to pause cooking to prepare more food inside the oil-free fryer, helping to cook all foods evenly.
Temperature up/down button
Thanks to this button, you can easily adjust the appropriate temperature to prevent food from burning due to overheating.
Time selection button
In general, most models of the time and temperature control buttons have the same configuration. Therefore, each cluster of buttons will be placed to the sides so that users can easily distinguish which side to adjust the temperature and which to adjust the time. However, some models use a mechanical knob (without an LCD screen), so a rotary knob will replace the -/+ button.
When adjusting the temperature, each time you press the button, the time will increase or decrease by 1 minute until you reach the time you see fit.
How to install a newly purchased oil-free fryer
The first time you use an oil-less fryer, you need the following:
Step 1: Lift the product out of the carton.
Step 2: Remove the plastic bag and paper on the pot body.
Step 3: Wash the frying tray and rack with dishwashing liquid before use and cover the frying rack and pan to dry.
Step 4: Next, you take a soft damp cloth to wipe clean through the outer pot body.
Preparing to use the oil-free fryer
Step 1: Place the hot air oven on a flat surface. Note that it should be placed on heat-resistant materials such as kitchen countertops.
Step 2: Install the frying rack and tray in the pot’s correct positions.
Step 3: Unplug the power cord from the power cord compartment at the bottom of the pot.
How to use an air fryer for the first time?
Properly using an oil-free fryer makes the product more durable and safe. It helps the food to be processed more deliciously. Detailed steps are as follows:
Step 1: Plug the pot’s plug into the household’s leading power.
Step 2: Lift the frying pan gently out of the pot.
Step 3: Put the food to be fried into the frying tray.
Note: Do not put the amount of food in the fryer beyond the MAX line. If you add more than the specified line, the finished product will no longer be delicious.
Step 4: Put the frying rack back into the pot cavity.
Note: While the pot is cooking or has just finished cooking, absolutely do not touch the pot’s body. It will easily cause burns, but hold the handle and lift the frying rack.
How to Use an Air Fryer for Chicken
Step 1: Prepare chicken and spices
- Choose pre-prepared chicken and clean the feathers and internal organs. You can choose wings or thighs if you like because baking the whole baby takes a long time.
- After cleaning the chicken, rub a little salt on it and then wash it to reduce the fishy smell.
Step 2: Marinate chicken for flavor
- With this method of frying chicken in an oil-free fryer, we should marinate for about 30 minutes – 1 hour to ensure that the chicken absorbs the spices.
- Use a sharp knife to cut into the chicken body so the spices can penetrate evenly when marinating. The finished chicken will be more decadent and more delicious.
Step 3: Fry the chicken in an oil-free fryer
- Once the marinating is done, let’s fry it together.
- Heat the oilless fryer; when the pot has stabilized, put the chicken in the product. Everyone should line the foil underneath.
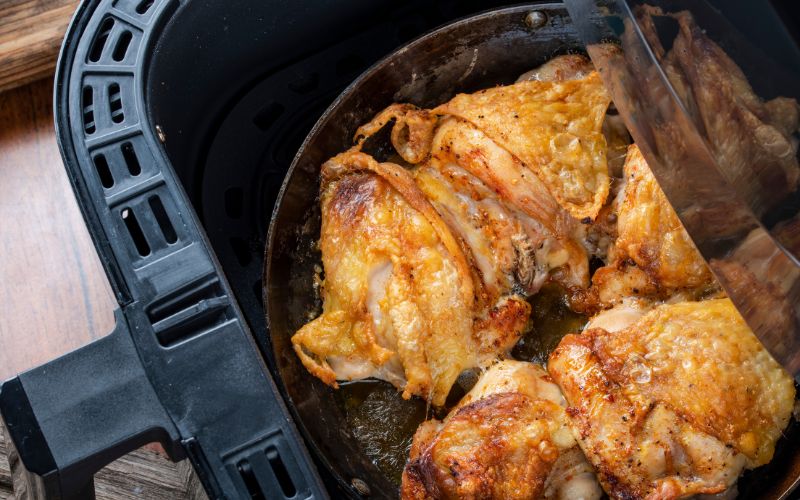
- Adjust the temperature to 200 degrees Celsius for about 25 minutes for the chicken to cook. Then turn the chicken over and spread some honey on the body. Set the temperature to 180 degrees for 15 minutes.
- When the chicken is cooked, the finished product will have a beautiful golden color and absorb the characteristic sweetness of honey. The soft and fragrant meat is delicious when served with salad or bread.
Note: You can dip it with green pepper salt or chili sauce for extra flavor.
How to Use an Air Fryer for Chips
After preparing the clean potatoes, follow the steps below to get the desired fries.
Step 1: With potatoes, you need to clean the sandy soil, peel it off with a knife, and cut it into bite-sized pieces.
Step 2: Use a bit of clean salt to dilute with water. Then let the potatoes soak in dilute salt water for about 15 minutes and then take them out. And wait for the water to drain.
Step 3: Add cooking oil to mix well after the potatoes are drained.
Step 4: Heat the oil-free fryer at 180 degrees Celsius for about 5 minutes.
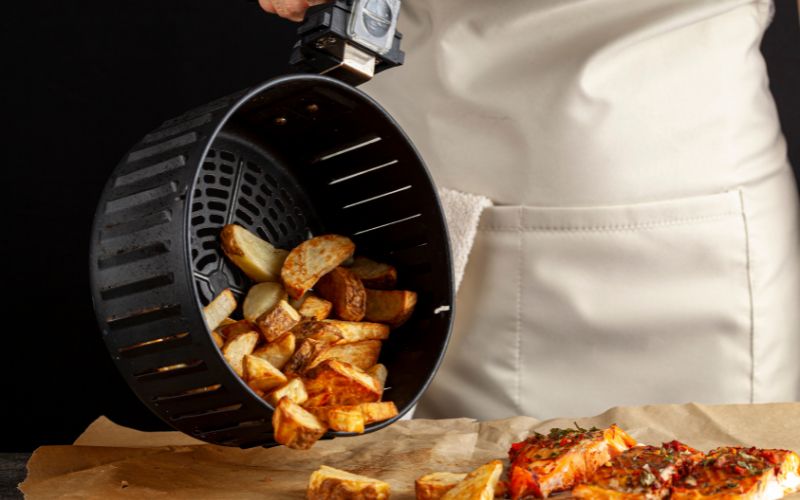
Step 5: After the pot is heated, put the potatoes in the pot. And fry for about 15 to 20 minutes. You should remove the tray to stir the potatoes until golden brown during frying.
After the potatoes are cooked, turn off the pot, put the food on a plate and enjoy. You can use ketchup or chili sauce to serve it will be great.
Final Words
After reading the above article, surely everyone will no longer wonder how to use an air fryer. In addition, the above article has been provided by us – Big Sun Cook, with the necessary information for those new to using an oil less fryer for the first time. Hope the information is helpful to you. Thank you for reading this article!


Derry Clarke is an Irish celebrity chef and restaurant owner L’Ecrivain. He has also served as a reality TV judge, having acted as a judge alongside Bibi Baskin and Sammy Leslie on the RTÉ reality television series One Fáilte Towers, and has appeared on other shows such as Restaurants.